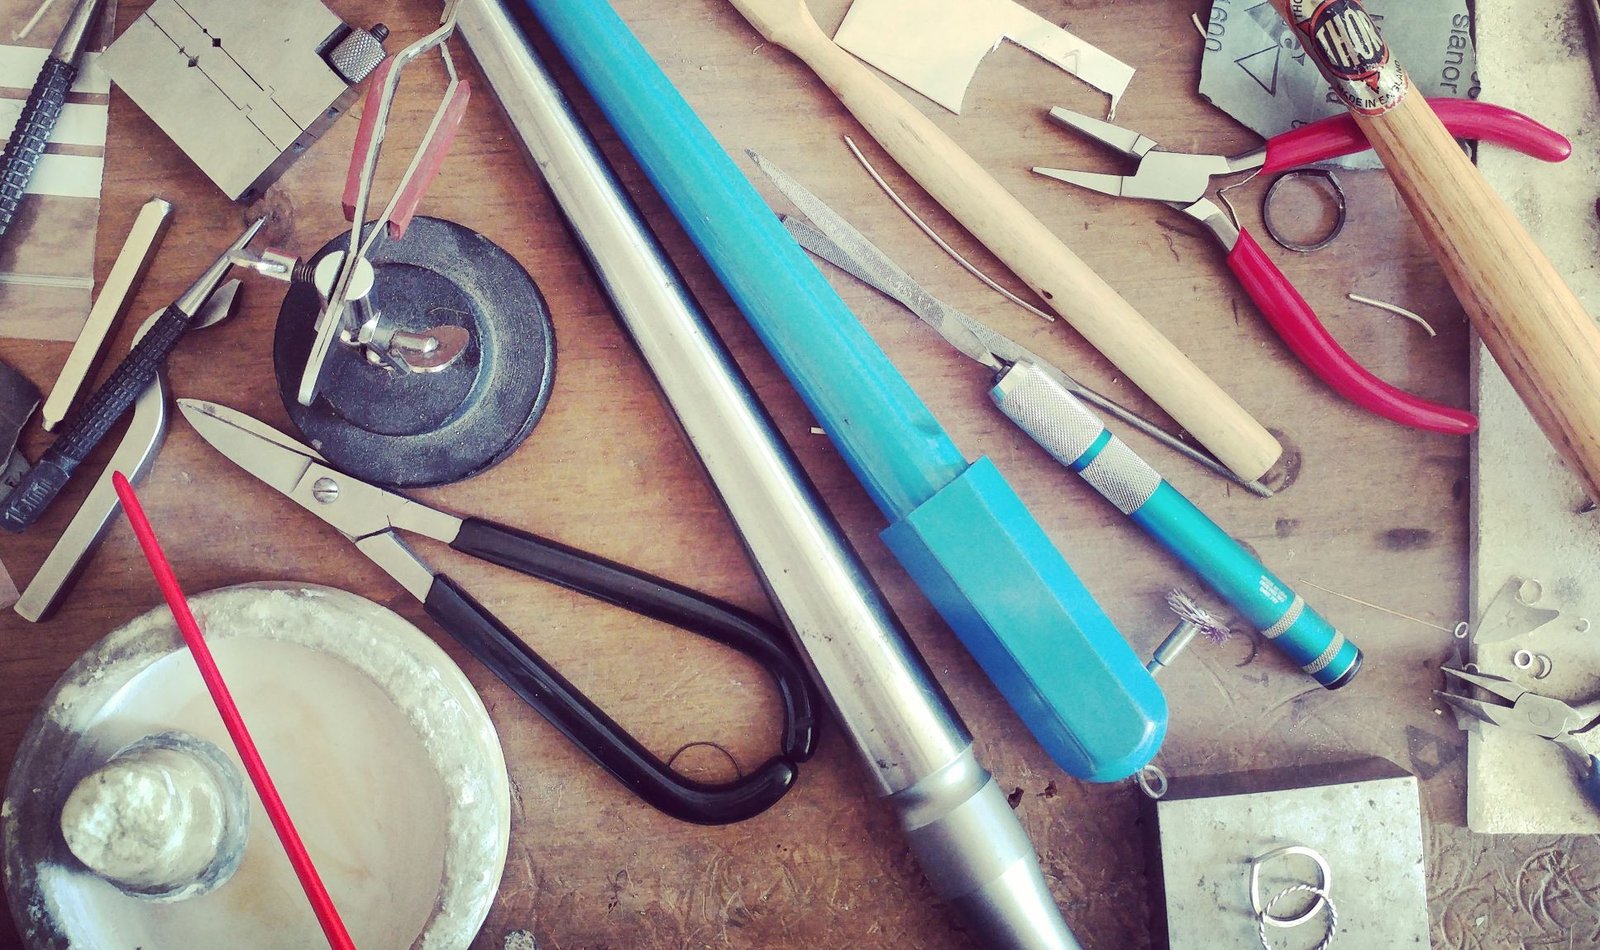
My Top 10 silversmithing Tools For beginners
I’ve really enjoyed sharing my love of silversmithing with others over the last few months of teaching. A few people have enquired after the workshops about recommendations for how to get started and what tools they’d need. You loved making your stacking rings and would like to give it a go at home but what now?!
I understand it can all be a little confusing so in this blog post I’ll explore what basic tools I recommend to get you on your merry silversmithing way.
Obviously the tools you need depend on what type of jewellery you plan to make, but I’ve made a list of basic tools that I can’t live without and use the most as well as offering a few suggestions of extras that are pretty damn useful. If you’ve attended one of my workshops you’ve likely used all these to create your first jewellery designs.
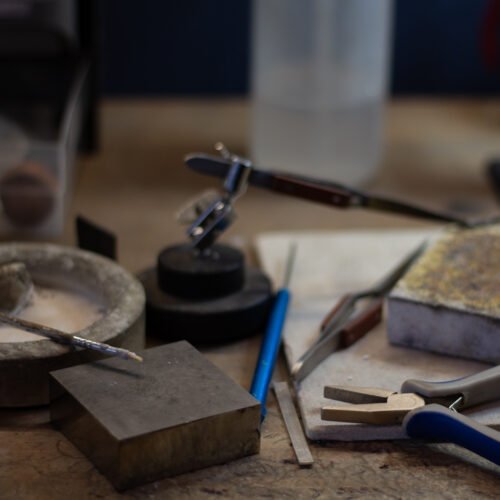
My Essential Silversmithing Tool List
By no means an exhaustive list, the below suggestions are a pretty good place to start and these tools will allow you to make a good variety of designs in silver and gold!
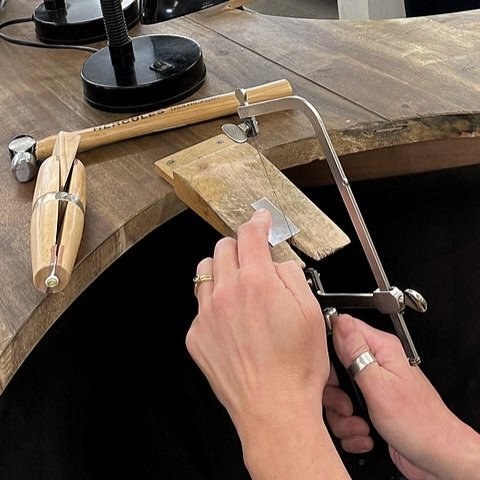
- Jeweller’s Piercing Saw And Blades: An essential tool for cutting and shaping silver. It allows for intricate and precise sawing, making it perfect for creating detailed designs. They also enable clean and accurate cuts through wire when crafting rings.
- Pliers and cutters: I’d recommend starting out with half round pliers, flat-nose pliers, and round-nose pliers without teeth on the jaws. They are invaluable for bending, shaping, and manipulating silver wire and sheet. Nylon jawed versions can help to minimise marking on the metal. A pair of side cutters are useful for easily cutting solder pallions or thinner pieces of wire.
- Files: Files are great for smoothing rough edges and refining shapes. They come in various shapes and sizes to suit different projects. If you can only buy one file, a half round needle file is probably the most versatile and great for tidying up rings.
- Soldering Torch: A small butane or cooks torch for soldering and annealing silver is my preferred starter torch. It allows you to join metal components together and anneal metal for shaping. The small size and simple design make it easy to use. They are also cheap and straightforward to refill using butane lighter gas. Nearly every piece I make is done using this type of torch.
- Solder and Flux: Solder is used to ‘glue’ pieces of metal together and flux is applied to help the solder flow and prevent oxidation. You can get liquid flux that come in a bottle and is ready to use but my preference is for a good old fashioned borax dish and cone. There are 4 different grades of solder (hard, medium, easy and extra easy) but if you are only doing simple or single solders on a piece you will probably only need to use hard grade solder to start with.
- Bench Peg And Steel Block: These tools provide a sturdy surface for sawing and hammering metal . You can buy combined anvils and bench pegs or get them separately. Bench pegs are normally secured on a worksurface via a clamp making them easy to bring out and put away if you don’t have a permanent dedicated metalsmithing space.
- Hammers: There are a huge variety of hammers you can use to help create and finish your silver jewellery. To start with a ballpein (great for creating a hammered texture) and a rawhide (used to shape metal without marking) are the most useful and versatile.
- Triblet: Triblets or mandrels are used to form rings and bracelets. They help round the shape and work harden your rings.
- Soldering Block And Tweezers: Fireproof block are a must to protect your work surface when soldering, Reverse action tweezers and a soldering pick make sure your fingers are safe when handling scorching hot metal.
- Pickle And Polishing Papers: After all the soldering and shaping you’ll need to clean up your piece! Pickle will clean any flux residue or oxidisation left on the silver. I recommend and use safety pickle or citric acid as it’s much safer to use at home. Using sand papers followed by polishing papers will smooth and finish the piece. Go from lowest grit to highest grit to get the best polish.
Useful extras
Although the below recommendations most definitely aren’t a must have when creating basic pieces, if your budget can stretch to them and you think silversmithing is something you will do regularly, they will make things a lot easier and open up more possibilities for your jewellery designs.
- Flex Shaft/Dremel: This rotary tool is great for polishing, sanding, drilling and finishing your silver pieces. Various attachments can be switched out on the handpiece for different jobs. Some models, such as the Foredom, will have a foot pedal for extra control when in use. This would be my top recommendation from this list to up your silversmithing game as they’re such a versatile tool. Even a basic multi tool such as a Dremel 3000 (Lidl or Aldi often do their own cheap versions too!) is a great addition to your home workshop.
- Barrel Polisher: Use a barrel polisher for the final finish and polish of your jewellery and components. You just add your pieces with polishing media and water in to the rotating barrel.
- Rolling Mill: Great for recycling old silver scraps and rolling out your own wire and sheet. You can also use rolling mills with texture plates to add unique patterns to your silver.
- Stone Setting Tools: A burnisher, square end pusher and bezel rocker are the basic setting tools that will allow you to set stones in a variety of styles. They help push and smooth the silver over the stone to secure it in place.
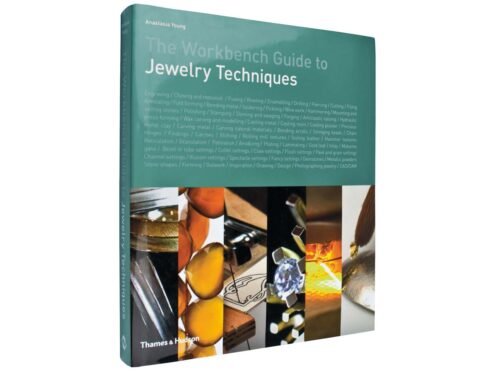
If you’d like some reference or reading to help you along your way I can thoroughly recommend this book –
I would also always make sure you buy your tools and metalsmithing supplies from reputable UK based sellers and can suggest –
- www.cooksongold.com
- www.kernowcraft.co.uk
I’m super excited to share that I’ve put together my own silversmithing kits too! If your interested take a look at the below link –
https://phoenixalchemyjewellery.co.uk/product-category/silversmithing-kits/: My Top 10 silversmithing Tools For beginners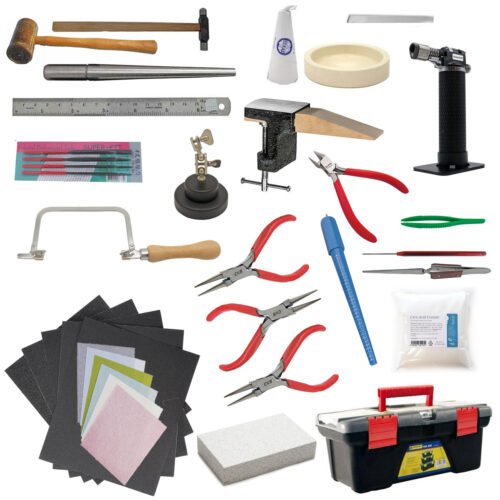
I really hope this has been helpful and answered a few of your questions about where to start tool wise when beginning your silversmithing adventure!

